We all have our favorite craft tools. Some are costly and some are as simple and inexpensive as wooden craft sticks. Some of my favorite craft tools are actually are not craft tools, but items that I have repurposed for crafting... a dental pick, tweezer, and wallpaper roller.

I use a dental pick (available at pharmacies) for many tasks. When my fingers are too big to move tiny objects into place on a greeting card, I will use the pick to move them. It also slides easily under two pieces of paper that need to be taken apart. It helps to move items into place when taking photographs. When I'm working with beads, I often will move or pick up the beads with the pick.

The tweezer is used also to pick up beads and move them into place, as well. I also like to use it when I need to add glue to the back of delicate die cuts and place them on a card.

When my bone folder is not handy, I use a wallpaper seam roller. I fact, I probably use it more than the bone folder. Its easier to hold, and more pressure can be applied with it. When adhering two papers together, I use the roller over the card to make sure it sticks. My only caution is, when stamping, make sure the ink is completely dry before rolling over it, to avoid smears.
These are just some of my favorites...low cost and multi-purpose.


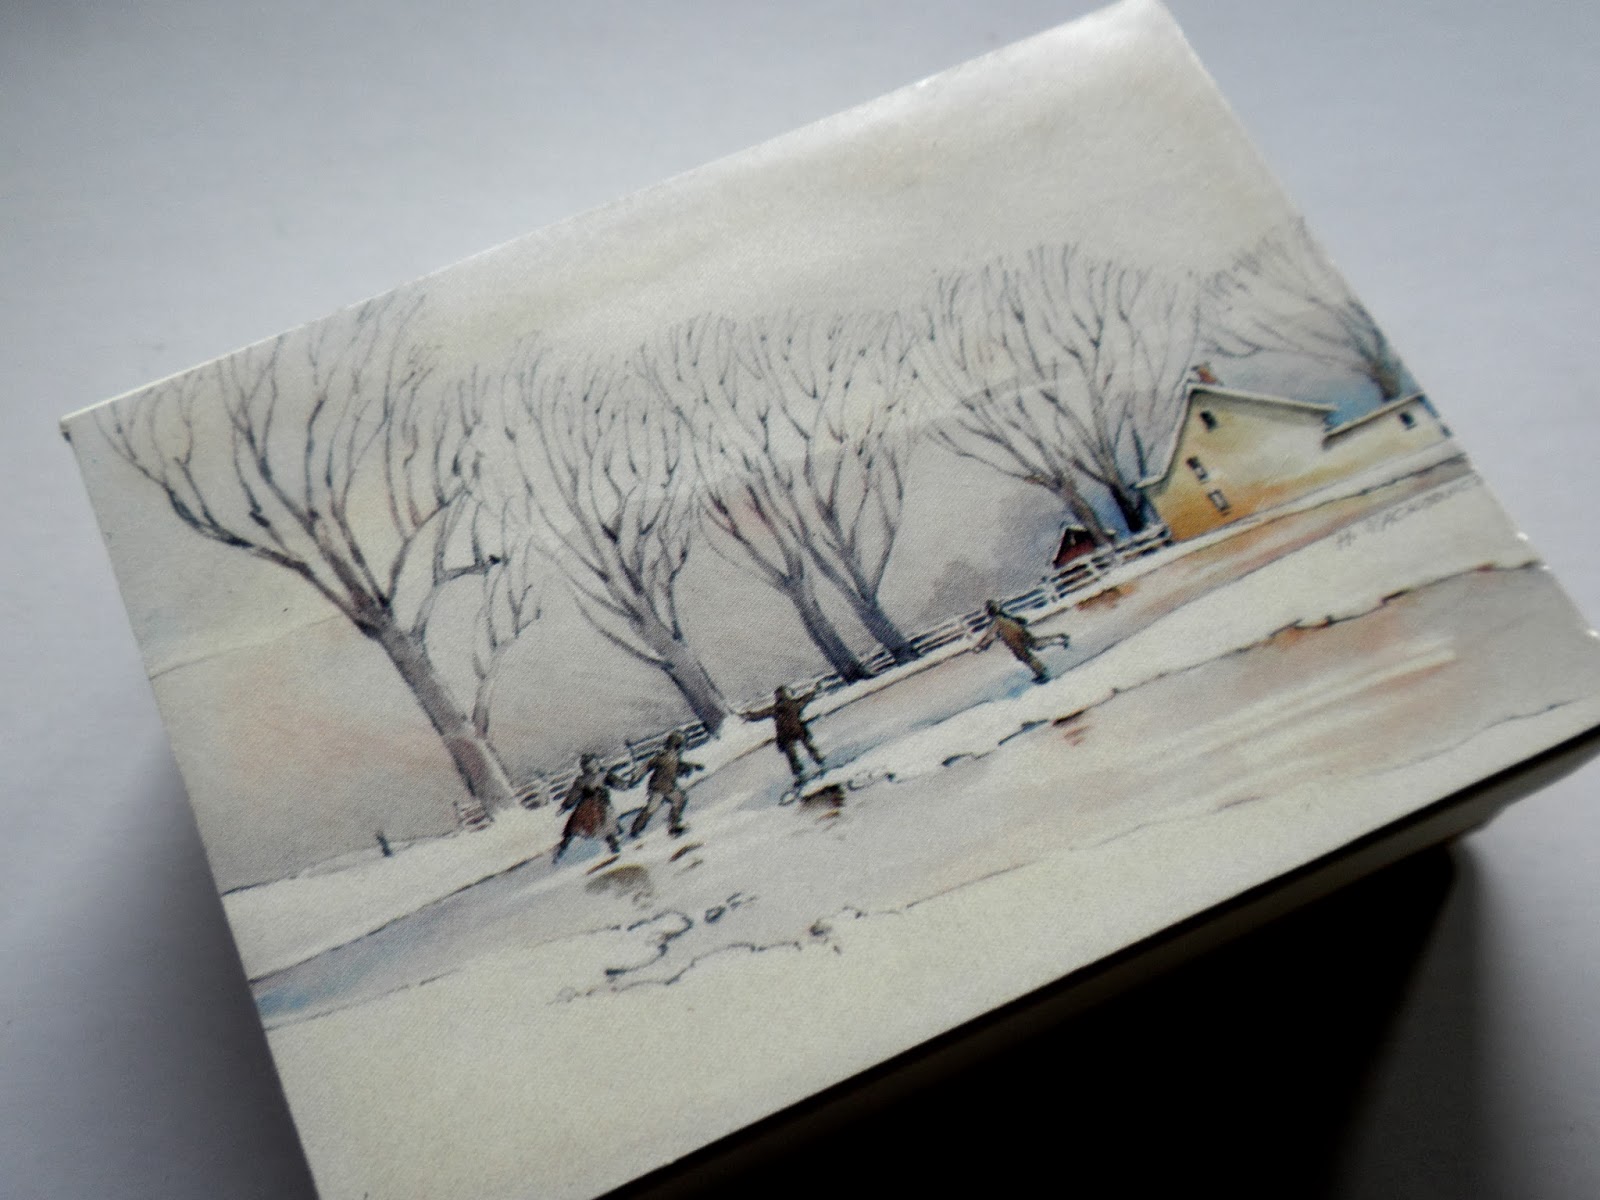
 This year, I found that I was giving a lot of gift cards to family. They are great last minute, extra gifts. But, gift cards don't always come with a box or even an envelope. So, I used my old cards from previous years and turned them into small gift boxes. I originally got the pattern from one of the ladies I work with at the Senior Center. There are also many different tutorials on line now.



 I use a dental pick (available at pharmacies) for many tasks. When my fingers are too big to move tiny objects into place on a greeting card, I will use the pick to move them. It also slides easily under two pieces of paper that need to be taken apart. It helps to move items into place when taking photographs. When I'm working with beads, I often will move or pick up the beads with the pick.
 The tweezer is used also to pick up beads and move them into place, as well. I also like to use it when I need to add glue to the back of delicate die cuts and place them on a card.
  When my bone folder is not handy, I use a wallpaper seam roller. I fact, I probably use it more than the bone folder. Its easier to hold, and more pressure can be applied with it. When adhering two papers together, I use the roller over the card to make sure it sticks. My only caution is, when stamping, make sure the ink is completely dry before rolling over it, to avoid smears.


